
COLOR BALANCE
The Lesson
I am using PSP Version 8 and do not have the same options as the tutorial. My Color Balaance leads to another Color Balance in the pop-up window. That option allows me to change the Cyan/Red, Magenta/Green, and Yellow/Blue tones. I can also balance the shadows, mistones, and highlights. I worked with the midtones for these photos.
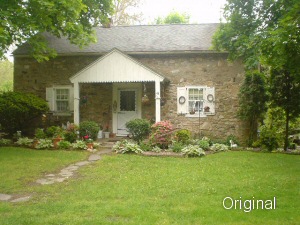 The original photograph
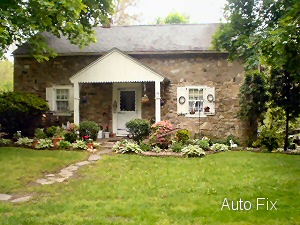 I tried the Auto Fix option, but didn't like the color change or the "grainyness" of the photo.
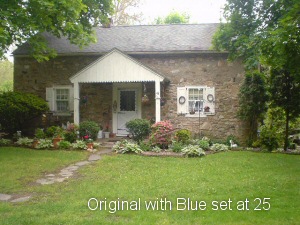 I wanted to get rid of some of the yellow cast to the grass. I played with the color shifts and found that adding more blue while keeping the other two sliders at the default settings looked the best.
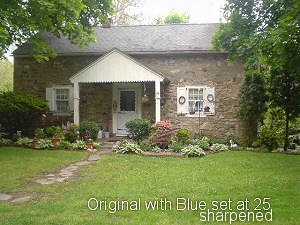
In the final example, I took the third photo and sharpened it. This looks the best to me.
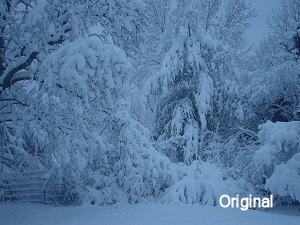 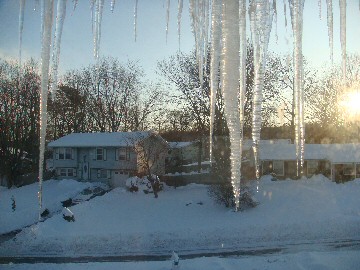 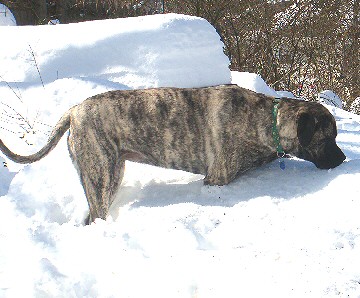
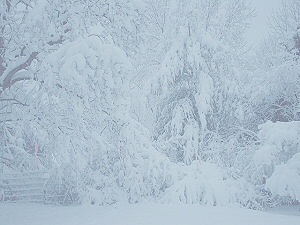
In this series, I found a winter picture that turned out very blue. I used the color balance first in the midtones to make the photo look more realistic (basically grey). I then changed the highlights to get even closer to the grey tones that you normally see after a snow storm.
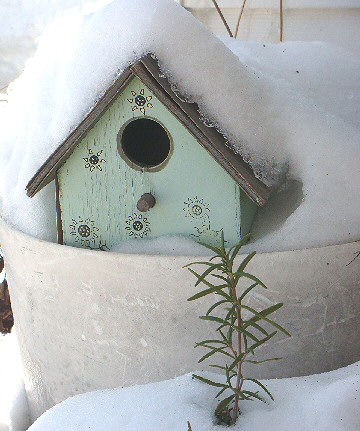
I found other ways to change the color. Using the Grey World Color Balance set at 6382, I got the first image (a bit too grey for my taste). And, using Black and White Points, I changed the colors to grey tones and checked Balance to Grey. This second photo appears a little washed out. I did a sharpen image on it that helped a little.
|