PhotoImpact Homework - Page 1
lessons 1 - 10
Lesson 1 - Capture, Crop, and Save

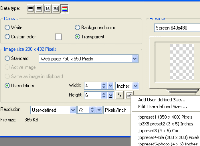
Capturing the image with the Print Screen button was just as easy as the lesson said. Printing it in PI was just as easy. My problem came with the crop portion of the image. The width/height at the bottom of the screen does not stay on unless I am hovering over the image. I also was unable to show the Start button without making the image very tall and thin. I cheated a bit and found the resize tool and made this image 400 X 300 before I saved it.
Lesson 2 - A New Image
This lesson went a little easier. The Crop function worked much better this time. I still used the Resize function though to get the size I wanted.
Lesson 3 - Saving An Image
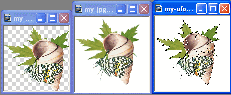
I did it! I finally got the crop tool to work as directed.
Lesson 4 - Resizing An Image

I used the Adjust/Resize method. This was the most convenient for me.
Lesson 5 - Rectangles, Circles, and More
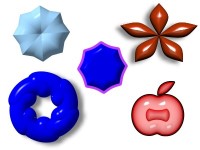
I enjoyed playing with this tool. There are so many variations I could have played all evening!
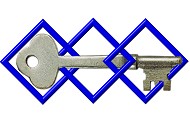
Lesson 6 - Line It Up

This turned out quite pretty. I can image many uses for this lesson.
Lesson 7 - Erase It
 
Boy, will I be able to use this! Erasing is so much easier that redoing over and over again!!
br Lesson 8 - Optimize Those Images
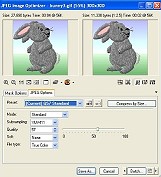 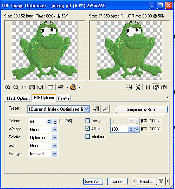
This, also, will come in handy. I have had ocassion to post an image that was too big and just resizing didn't do the job. Changing the size by optimizing would have been ideal.
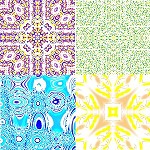
Lesson 9 - Puzzling Loops
This is fun. I like the optical illusion effect!
Lesson 10 - Doodle Tiles Plus
This lesson will come in handy for making web pages and e-mail stationary!
|